JeKyll기반의 블로그(Github Page) 만들기(3) - add service
03. Add Service
03.1 Comment
첫 github Page를 접하였을때 셋팅만해두고 사용하지 않았던 가장 큰 이유이다. 당시에 제대로 알아보지 않았기에 DB를 붙일 방법도 없고 정적으로만 사용가능한 점을 알고 흥미를 보이다가 접게 되었다. 하지만, 이번에 다시 접하면서 지킬기반으로 만들어 여러 플러그인 및 연동을 할 수 있는점을 알게되어 시도해보고싶었다.
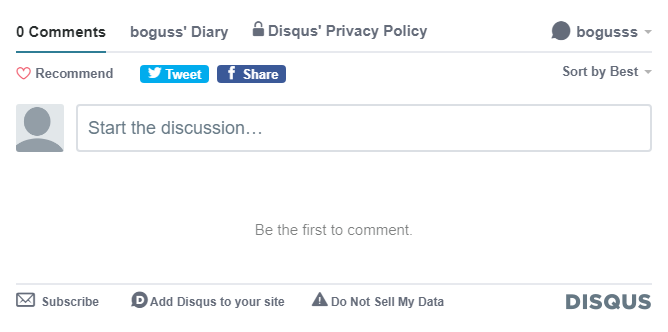
disqus 서비스를 연동 및 세팅(_config.yml)을 하면 각 포스팅에 댓글을 달수 있게 된다. 간단한 정보를 입력 하여 본인의 사이트를 추가하면 본인의Universal Embed Code를 확인 할 수 있다 해당 코드를 본인이 댓글을 보이고 싶은 위치에 넣어주면된다.
-
disqus를 이용하여 댓글기능 추가하기# _config.yml에 추가 (사용하는 테마별로 comment기능을 지원하지 않을 수 있음) # 댓글기능 comments: provider : "disqus" # false (default), "disqus", "discourse", "facebook", "staticman", "staticman_v2", "utterances", "custom" disqus: shortname : "[shortname]" # https://help.disqus.com/customer/portal/articles/466208-what-s-a-shortname- discourse: server : # https://meta.discourse.org/t/embedding-discourse-comments-via-javascript/31963 , e.g.: meta.discourse.org facebook: # https://developers.facebook.com/docs/plugins/comments appid : num_posts : # 5 (default) colorscheme : # "light" (default), "dark" utterances: theme : # "github-light" (default), "github-dark" issue_term : # "pathname" (default) staticman: branch : # "master" endpoint : # "https://{your Staticman v3 API}/v3/entry/github/" -
disqus - Universal Embed Code 추가하기(
_layouts/posts.html)<div id="disqus_thread"></div> <script> /** * RECOMMENDED CONFIGURATION VARIABLES: EDIT AND UNCOMMENT THE SECTION BELOW TO INSERT DYNAMIC VALUES FROM YOUR PLATFORM OR CMS. * LEARN WHY DEFINING THESE VARIABLES IS IMPORTANT: https://disqus.com/admin/universalcode/#configuration-variables*/ /* var disqus_config = function () { this.page.url = PAGE_URL; // Replace PAGE_URL with your page's canonical URL variable this.page.identifier = PAGE_IDENTIFIER; // Replace PAGE_IDENTIFIER with your page's unique identifier variable }; */ (function() { // DON'T EDIT BELOW THIS LINE var d = document, s = d.createElement('script'); s.src = 'https://username.disqus.com/embed.js'; s.setAttribute('data-timestamp', +new Date()); (d.head || d.body).appendChild(s); })(); </script> <noscript>Please enable JavaScript to view the <a href="https://disqus.com/?ref_noscript">comments powered by Disqus.</a></noscript>

03.2 Analytics
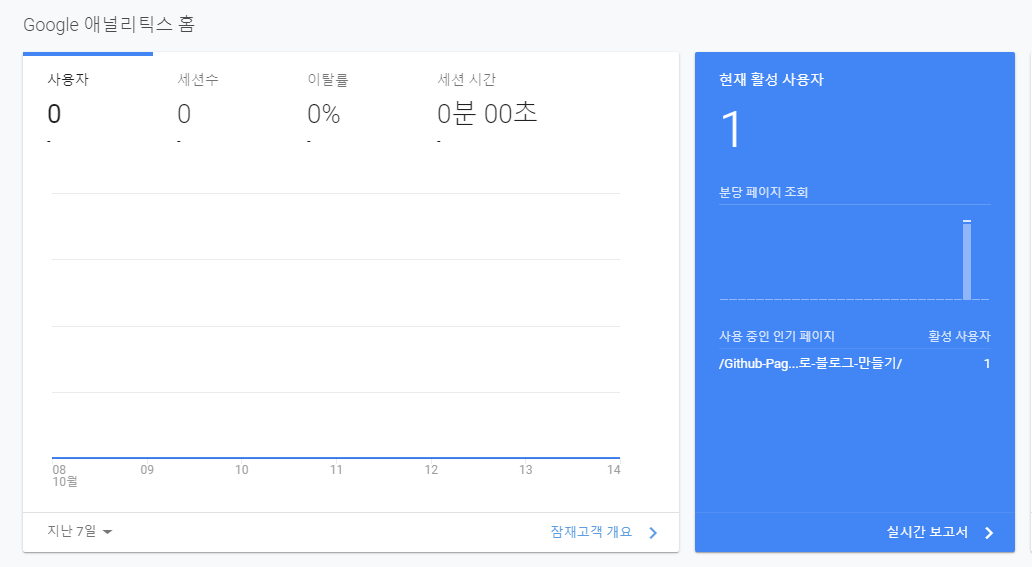
댓글과 마찬가지로 github page 만으로는 사용 할 수 없던 것이 통계이다. Google Analytics를 사용하면 자신의 블로그를 통계 및 분석이 가능해진다.
Google Analytics에 본인의 계정으로 접속하여 본인의 웹을 추가 한 후, 본인 웹의 추적ID( tracking id )를 본인의 _config.yml파일에 넣어준다
tracking id는 본인의 Analytics 홈에서 좌측 하단의 관리 > 속성 설정 에 들어가면 확인가능하다. (2020/10/16기준)
-
Google Analytics
_config.yml( minimal-mistakes 사용 _ 각 테마마다 다르므로 본인 테마의config파일확인)# Analytics analytics: provider : "google" # false (default), "google", "google-universal", "google-gtag", "custom" google: tracking_id : "user tracking id" anonymize_ip : false # true, false (default)

references
댓글남기기